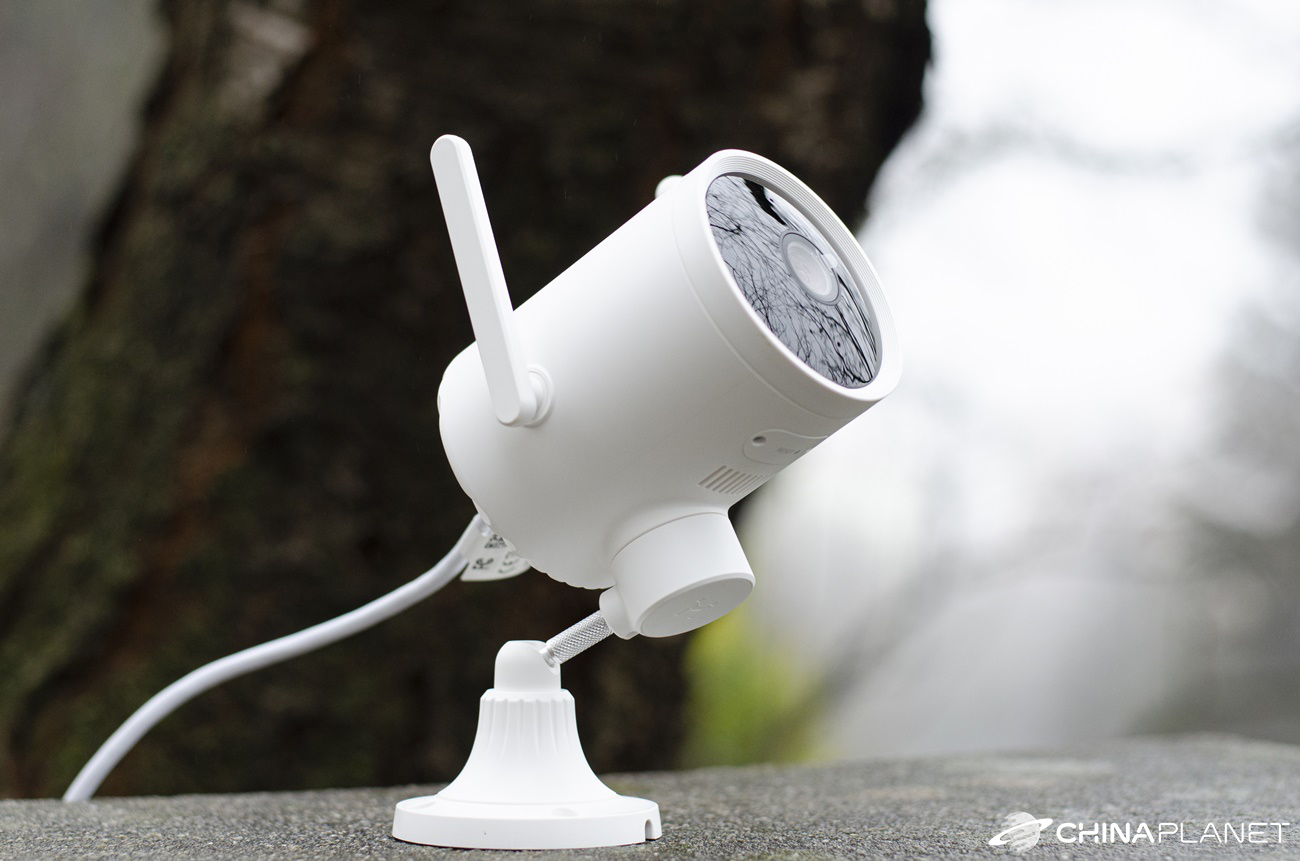
We tested an outdoor camera in the editorial office Imilab EC3. It offers a resolution of 3 MPx, remote rotation in the horizontal direction, intelligent person recognition and WiFi support. It's better than a wireless camera Imilab EC2, which we have already tested?
Thanks to the integration of artificial intelligence, Imilab offers home security products, such as security cameras. Today, this brand already offers me smart watch KW66.
Where to buy Imilab EC3 camera?
We purchased the Imilab EC3 security camera from our partner Banggood. At the time of ordering, it was available in the Czech warehouse, from where it was sent to us and delivered expressly quickly. We had a camera at home on the third day after ordering. Thanks to the European warehouse, we did not pay any fees such as customs duties or VAT and the camera was brought home directly by a courier.
At the moment, it is only available in the Chinese warehouse at the mentioned seller, but in the Imilab store on AliExpress the camera is available in Belgian warehouse with duty-free shipping and a very attractive price. You can also use 5,06 € Store coupon.
Basic parameters in brief
This is a security camera that is not equipped with an integrated battery and therefore needs mains power. As for the connection to the router, the camera supports 2.4 GHz WiFi, but also has a cable with an RJ-45 port. In this case, you have the choice of connecting it by cable or wirelessly. Imilab EC3 is a European version of the camera, which is sold in China under the name Imilab EN2.
As it is an outdoor camera, it is sufficiently protected against water and weather conditions thanks to IP66 certification. It can work at temperatures of -20 to 60 ° C, which is absolutely sufficient for all seasons in our climatic conditions.
As for video, the maximum resolution of Full HD is supported, ie 1920 x 1080 px. The camera lens has an excellent f / 1.6 aperture and a viewing angle of 110 °. Although it may not seem so at first glance, the camera is rotatable. Although you can only rotate in the horizontal direction in the range of 180 °, it will help you cover a larger area.
The manufacturer states the detection of movement and the distinction of a person from other movements. Videos are automatically stored in the cloud or on a memory card. The maximum supported memory card capacity is 256 GB. There is also a microphone and speaker for two-way audio transmission. How did this camera pass our test? Is it better than Imilab EC2, which we last tested? Read on to find out.
Package content and processing quality
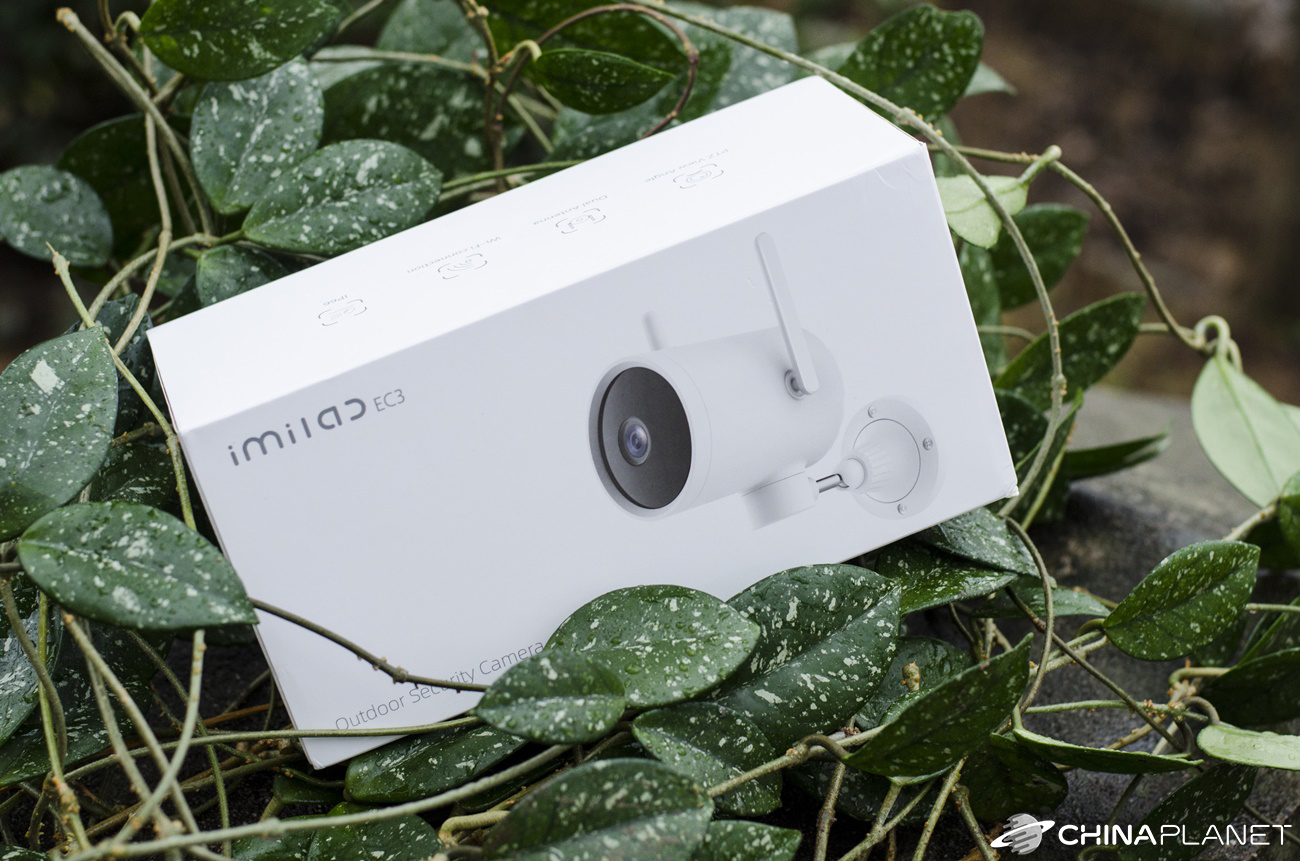
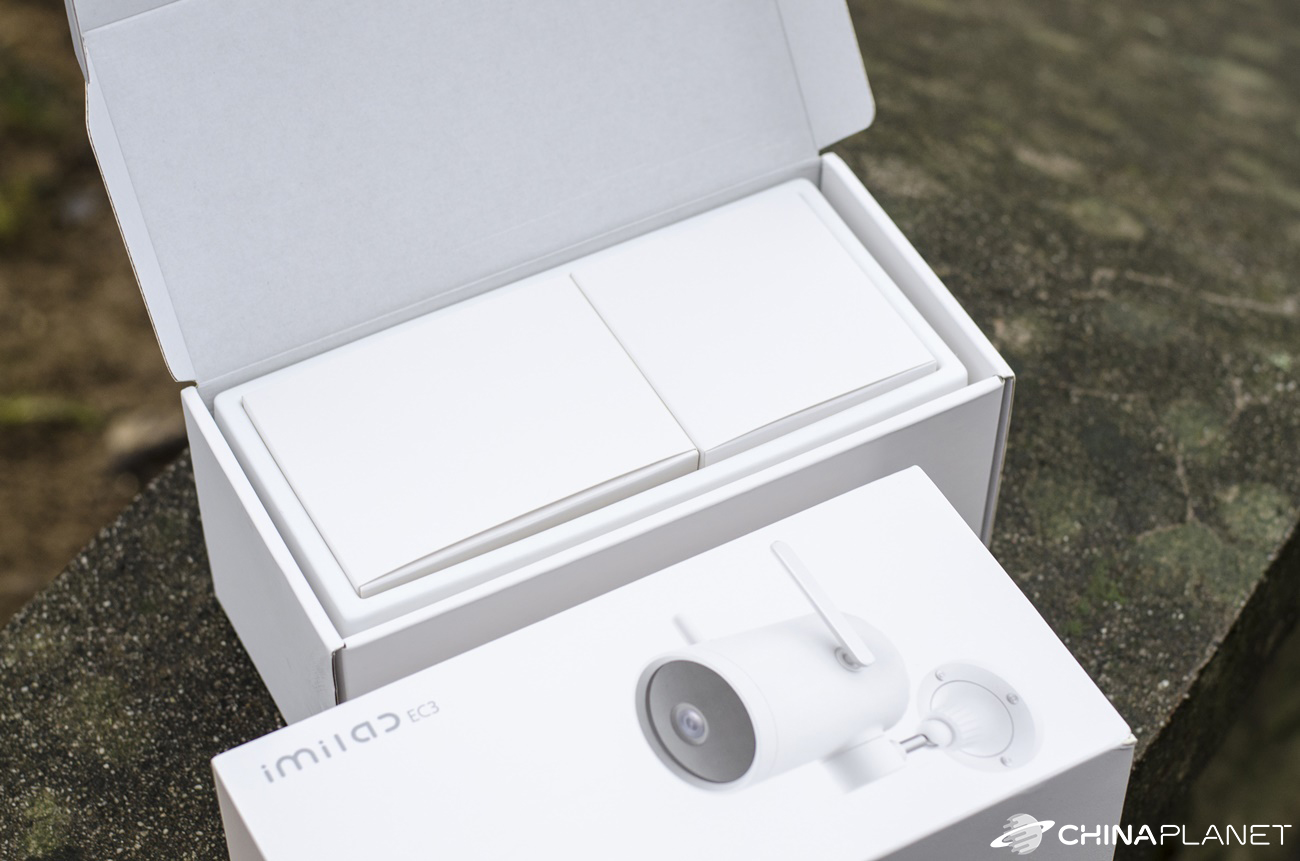
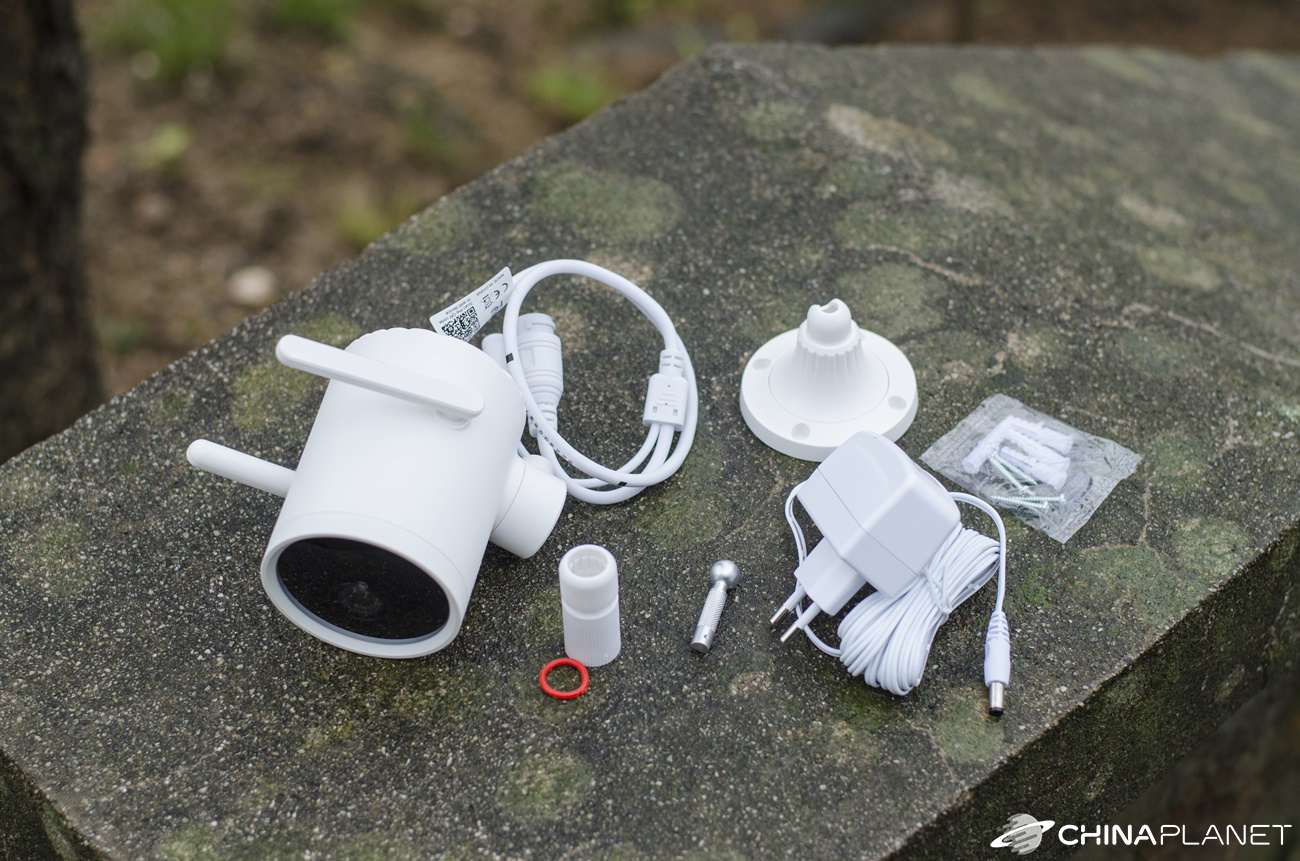
The camera comes in a white box measuring 24.40 x 12.20 x 11.40 cm. Inside, everything is nicely stored in other, smaller boxes. In one box there is a charging cable with an adapter. The cable is 5 m long, for which our camera has the first plus. The second, flat box hides the instructions for use, a small screwdriver, screws with dowels, a sticker with holes for precise drilling of holes for screws and the camera joint.
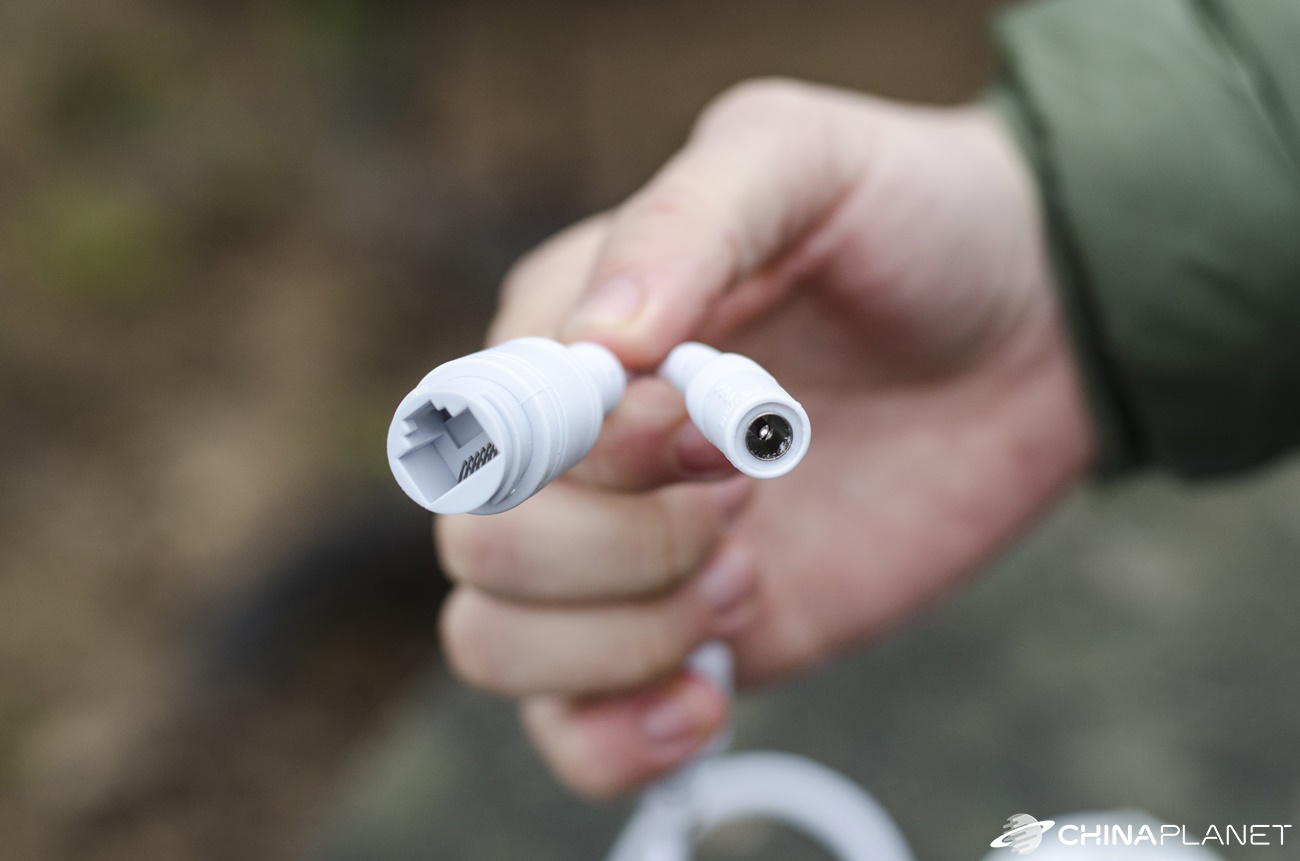
Below that is already placed the camera itself in a white package and its base, which is mounted to the wall or any object where you want to mount the camera. A short cable protrudes from the camera, which is divided into two at the end. One cable is terminated with a power terminal and the other cable is used to connect an Internet cable.
The cables are strong, but at the same time well flexible. Since the camera also has WiFi, the package lacked a cover for the RJ45 port, which in many cases will be unused, as we assume that most customers will rather use a WiFi connection.
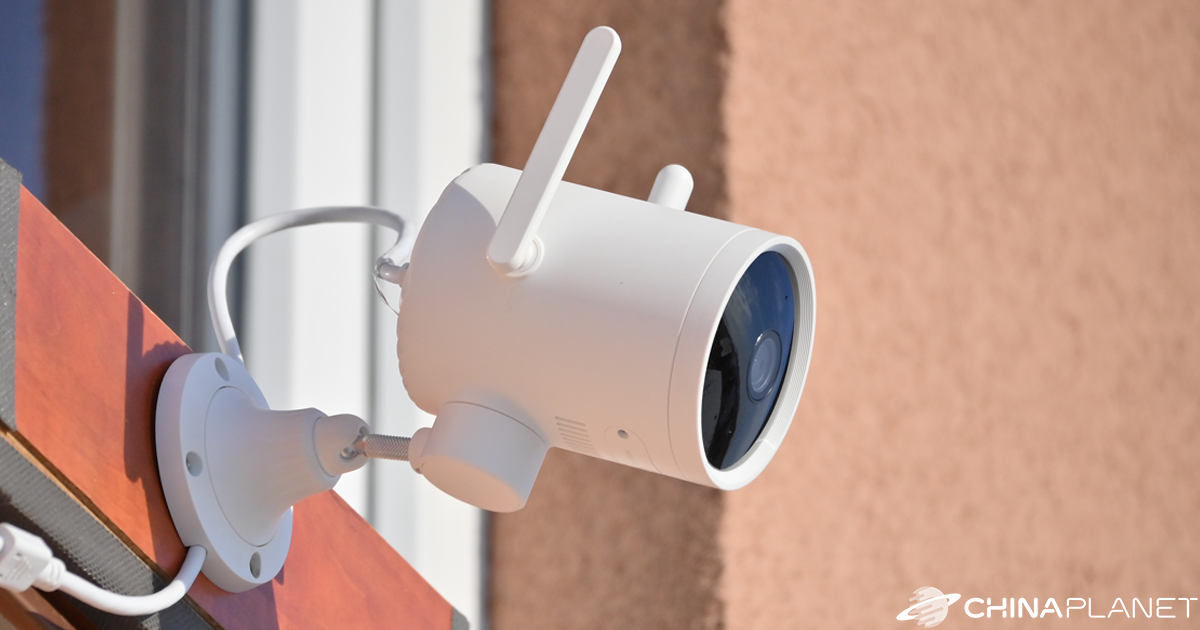
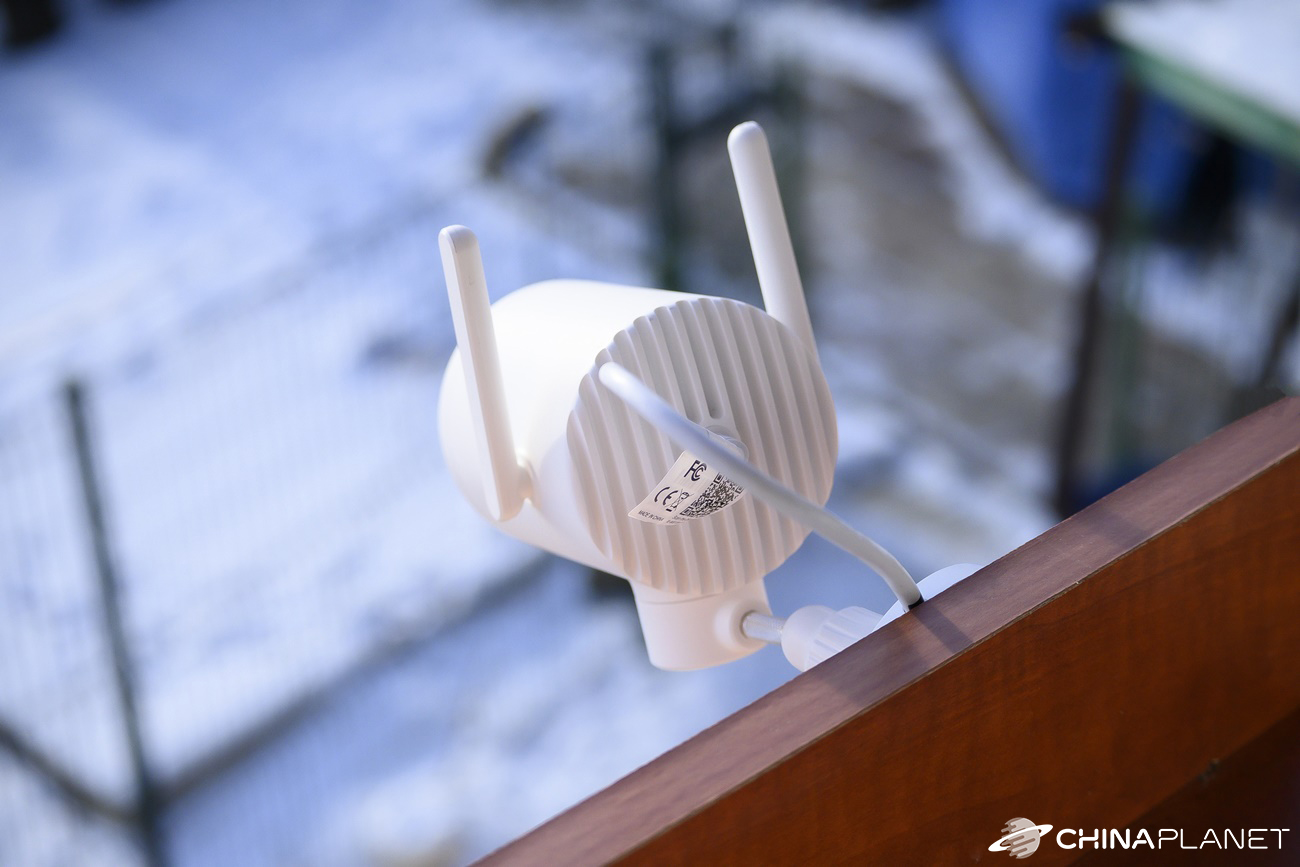
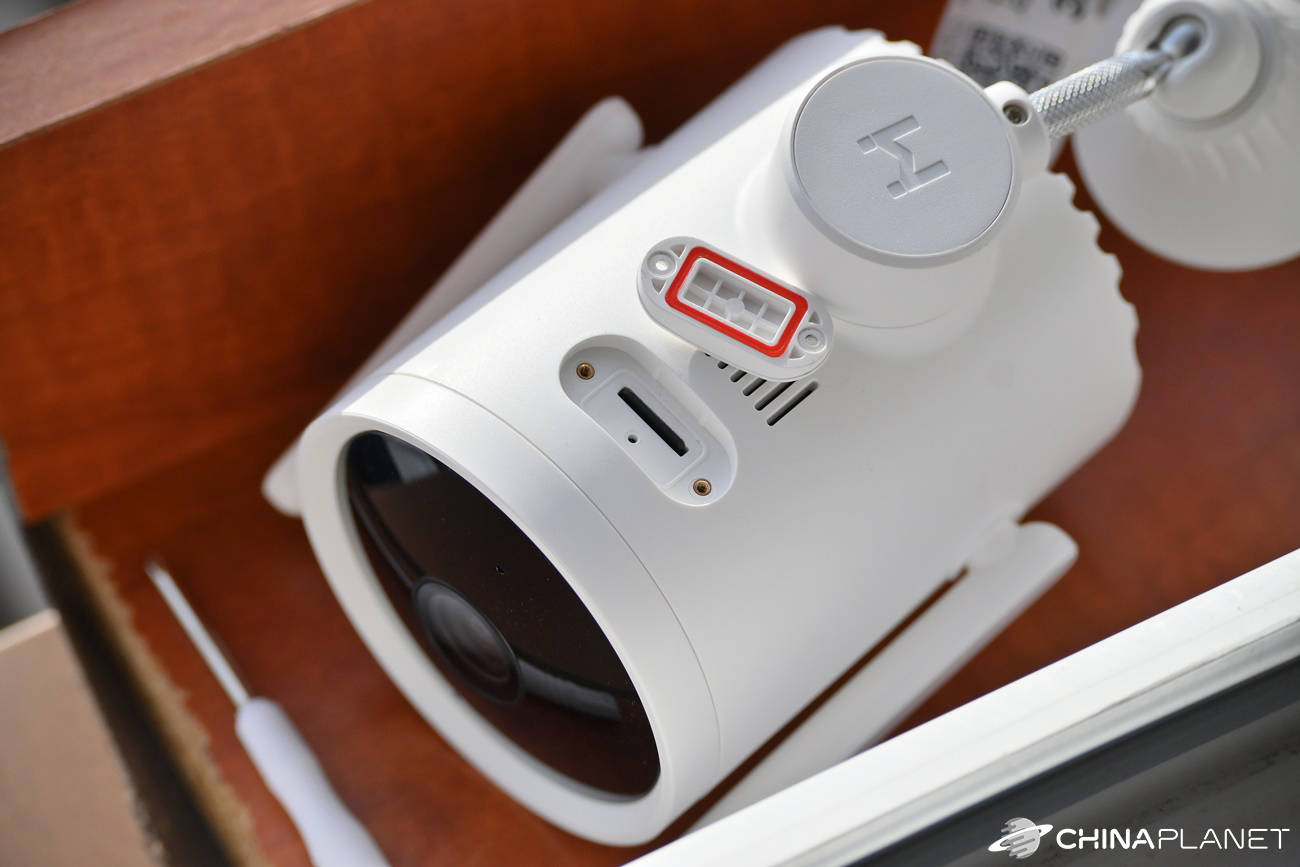
The camera lens is covered with a transparent, protective film. At the bottom you will find a speaker and a memory card slot, which is hidden under a small cover. Two antennas for WiFi connection allow you to adjust their inclination.
As we are used to with products from the Xiaomi portfolio, the packaging is very precise and the camera in the box is sufficiently protected against damage during transport. The quality of processing is good, we have no comments.
Camera assembly
Installation is a bit more complicated than with the Imilab EC2 camera, which we last tested, but it is still simple and can be done by anyone. For a stand that attaches to a wall or any object where you want to place the camera, you need to drill 4 holes. You can easily drill them with the help of the enclosed model in the form of a sticker on which the holes are marked.
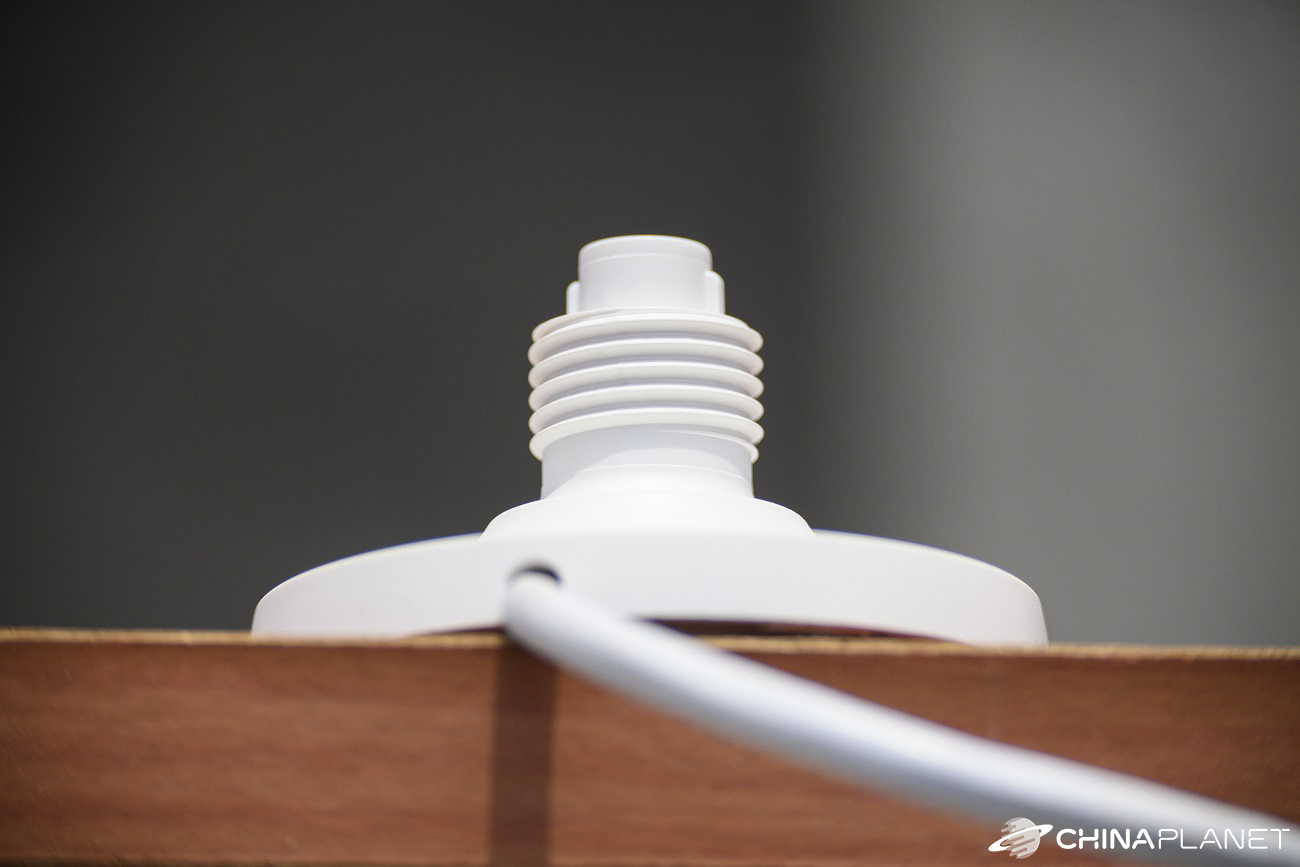
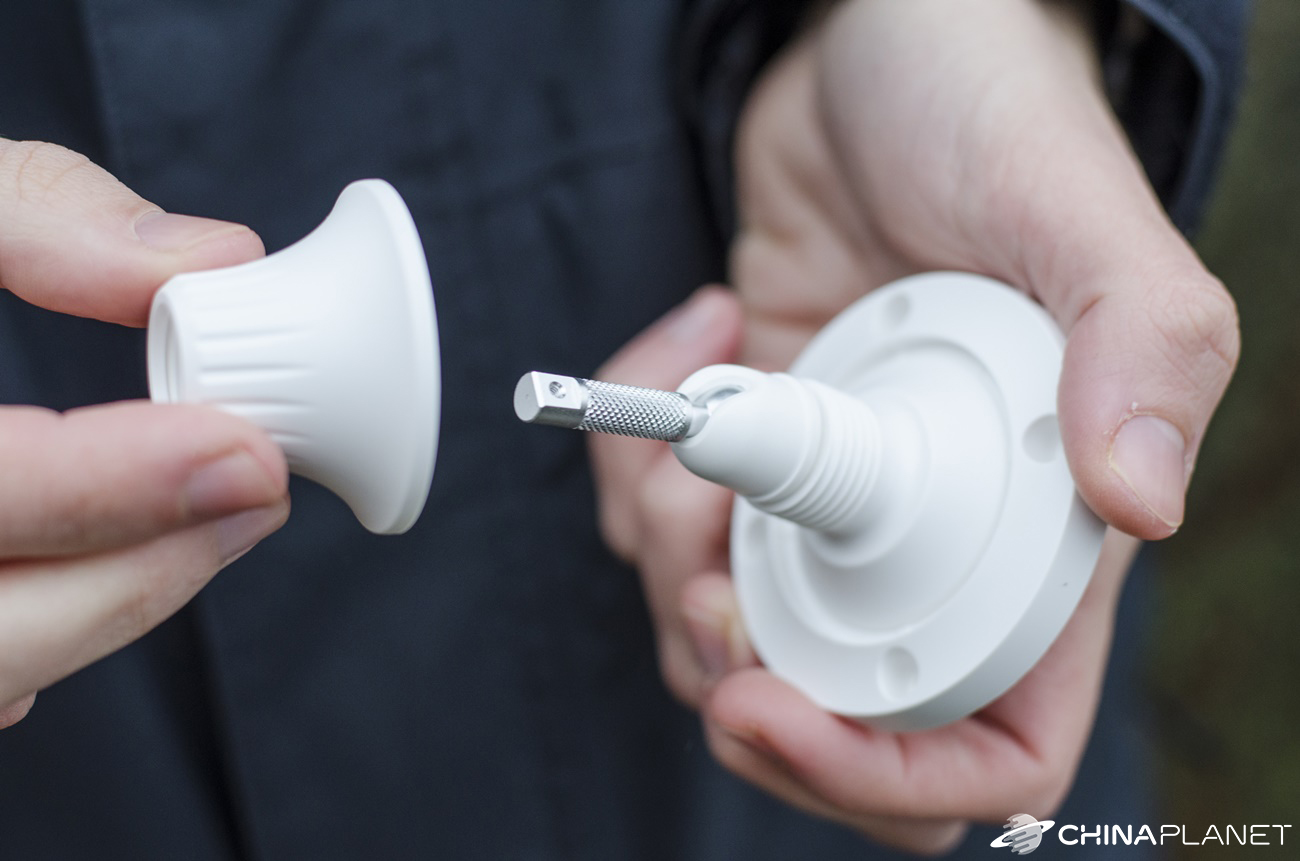
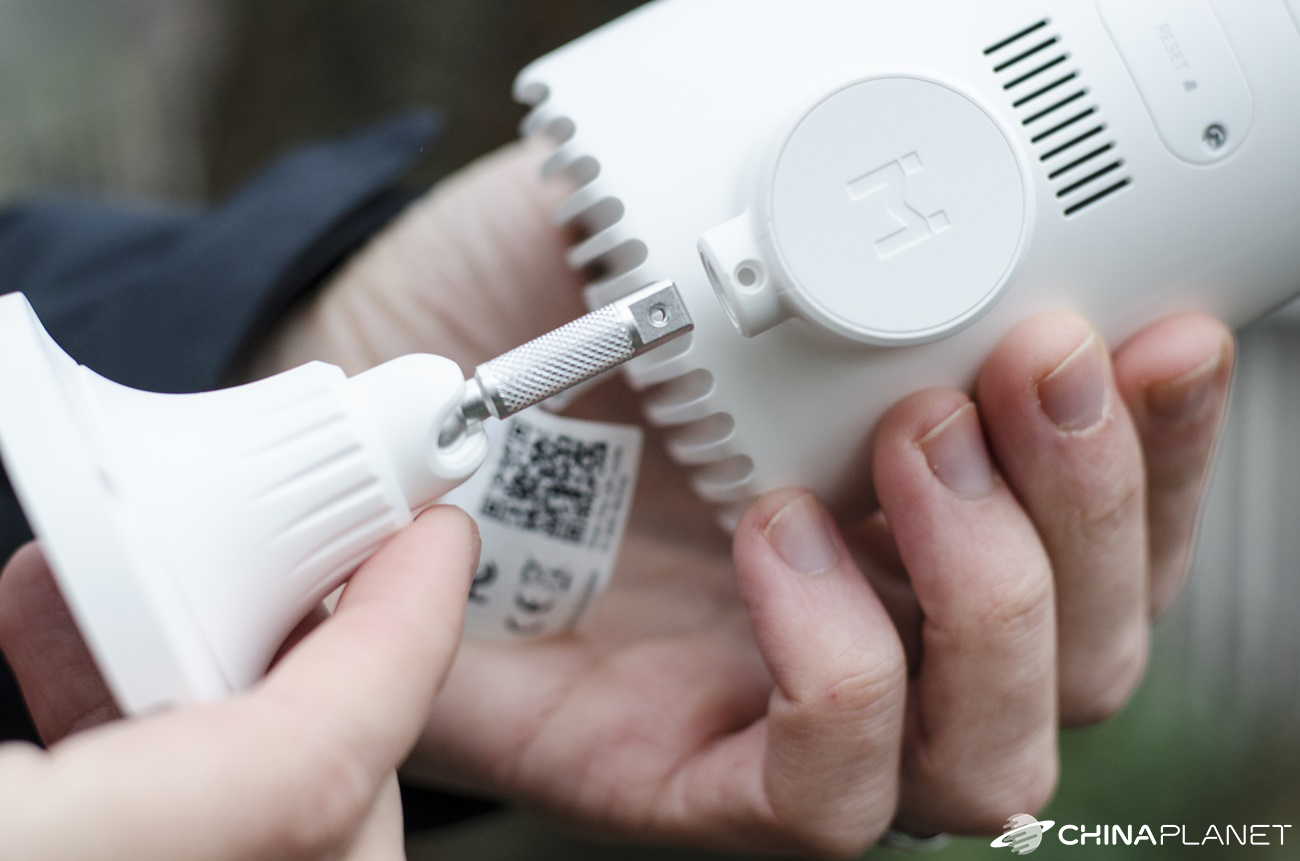
It is necessary to unscrew the white oval cover from the upper part of the base, into which a metal arm with a ball end is inserted to adjust the inclination of the camera. The other end of the metal arm is screwed to the camera with a small screw. As mentioned above, the package also includes screws and a small screwdriver.
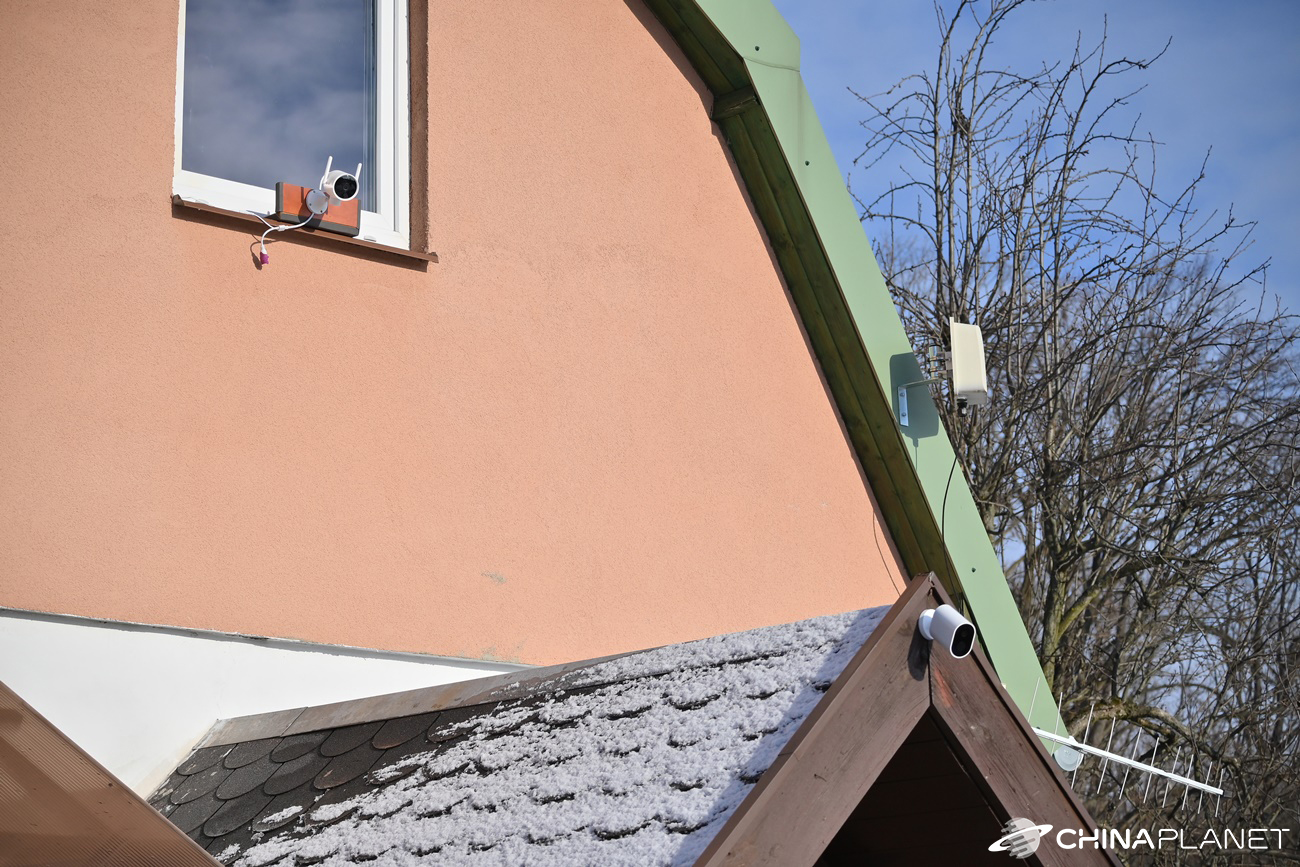
A 5 m long cable leads from the camera for connection to the electrical network. We placed the camera on a garden cottage, right on the window sill, where we had prepared a wooden stand for the camera before. We drilled a small hole for the cable into the frame of the plastic window and sealed the end piece for the internet cable with insulating tape, as there is no cover for this port in the package. Although it is probably sealed in some way, the contacts are open and could be clogged with dirt after a long time due to bad weather.
In the final, we only adjusted the vertical inclination of the camera with the help of a hinge and tightened the cover around it so that the camera did not move. Here we must note that with the camera it is possible to move slightly in the joint, despite the complete screwing of the white cover around the joint. It constantly happened to us that after adjusting the vertical inclination, we secured the joint, but the camera slightly shifted its weight downwards by some millimeter. If you need to precisely adjust the vertical position of the camera, prepare strong nerves.
First turn on and add to the application
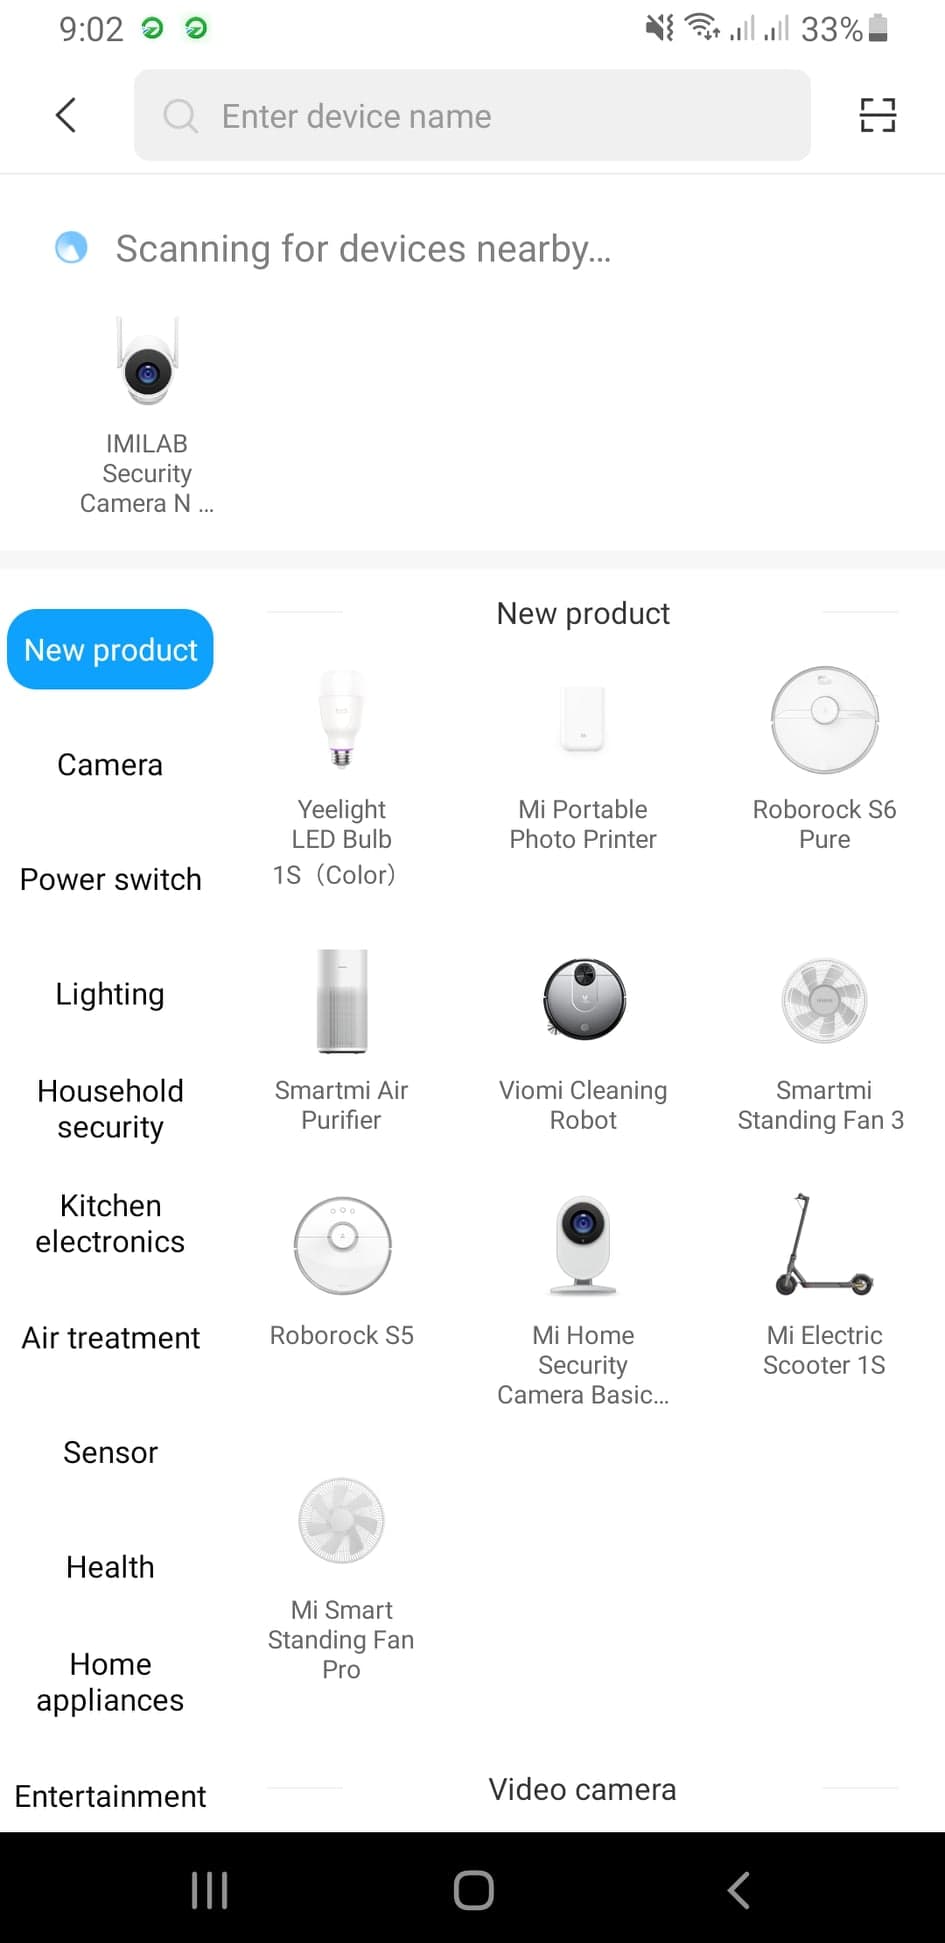
The Imilab EC3 camera uses the Xiaomi Home (Mi Home) application. Adding it is very easy. All you have to do is choose the Imilab EC3 camera from the list of devices in the application or scan the QR code found in the manual or on the label that you will find on the camera cable. Another option is to leave the camera search to an application that can detect devices nearby. We followed this method because as soon as we clicked on to add the device, the application found our camera automatically.
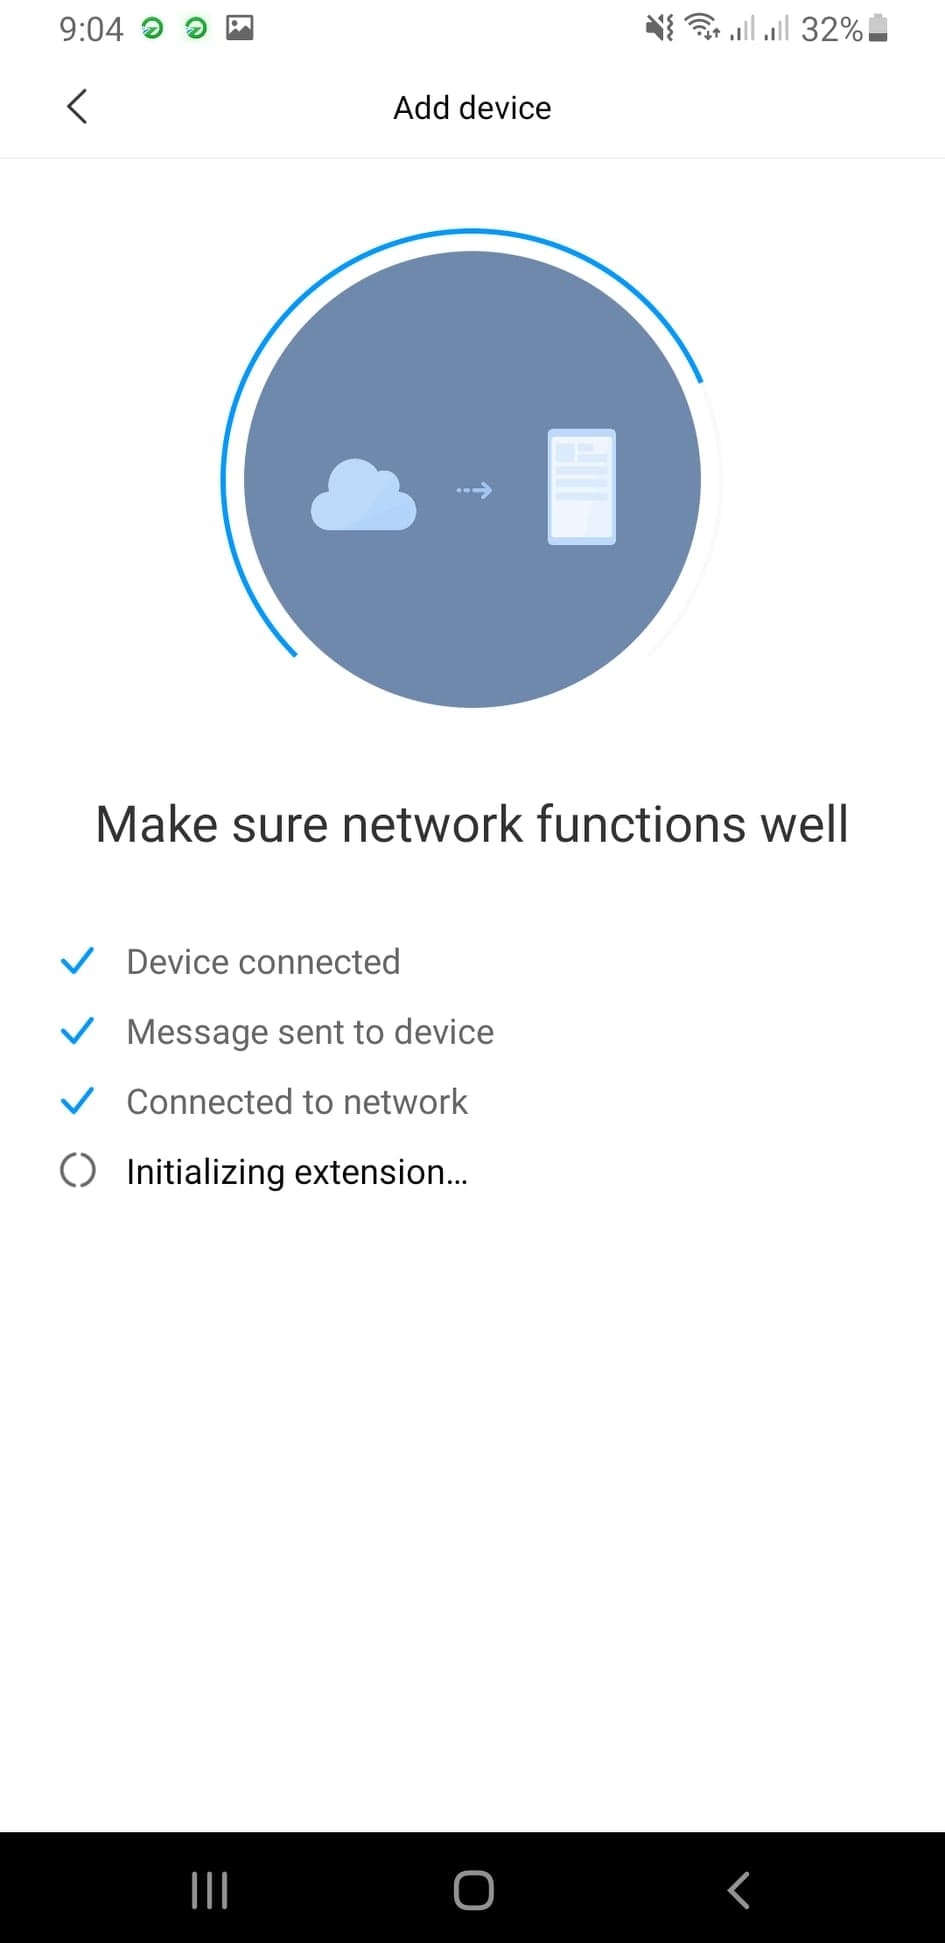
In the next step, we chose the WiFi network to which the camera should connect and entered the password. The camera then connects to the application on the phone and voicemails the numeric code that needs to be entered into the application. The voice is very clear, so you can do it with weaker English.
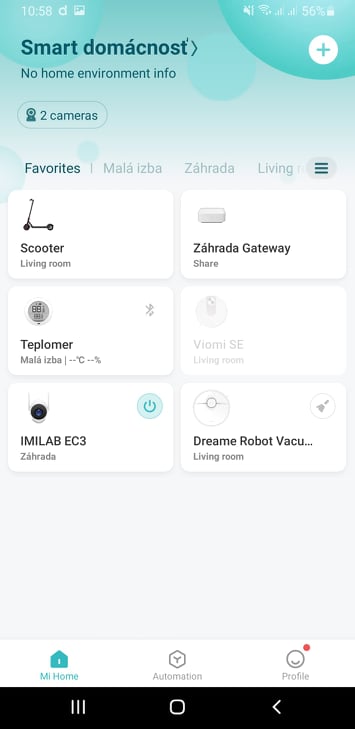
In the last step, the room to which you want to add the camera in the application and the name of the camera under which you will see it are selected. We added it to the Garden room, where we already have an Imilab EC2 camera, and we added a model name to the camera name.
Immediately after pairing, we were offered an update of the camera firmware. It lasted a few minutes, but no intervention was needed on our part.
Application and its possibilities
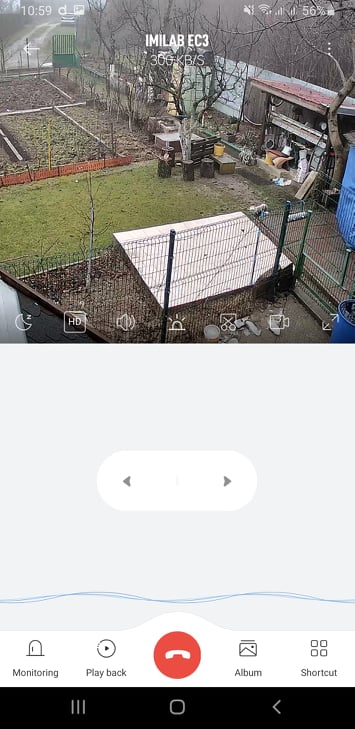
When you click the camera from the Xiaomi Home home screen, the live broadcast and the current data transfer are displayed. It can be switched to full screen mode. Below the live view, there are buttons for rotating in the horizontal direction. The rotation is very smooth and responds immediately to instructions from the application.
Live streaming offers several options, such as switching to sleep, selecting the transmission quality (auto, low and HD), muting / turning on the sound, triggering an alarm, taking a photo or recording a video. Manually created photos or videos are then saved to an album.
There's also an alarm feature that lets you manually turn on a 10-second audible alarm. The volume could be a bit higher, but not weak, the alarm can be heard even at a distance of 100 meters. It can also be used in automation, where the alarm can be triggered automatically after motion is detected.
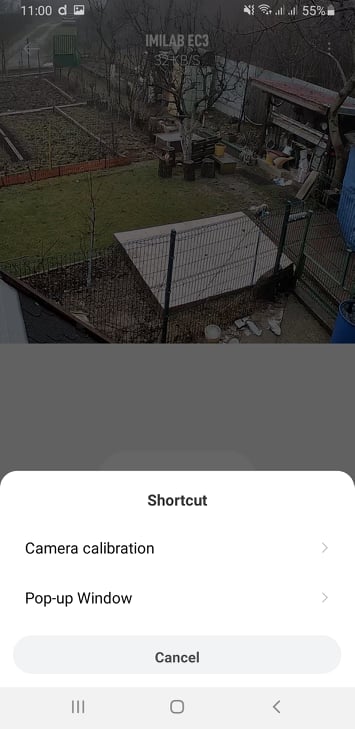
At the bottom, the environment offers several items. Dominated by the phone icon in the middle, which is used for voice transmission. You'll also find monitoring, playback, an album, and shortcuts for quick access to some settings.
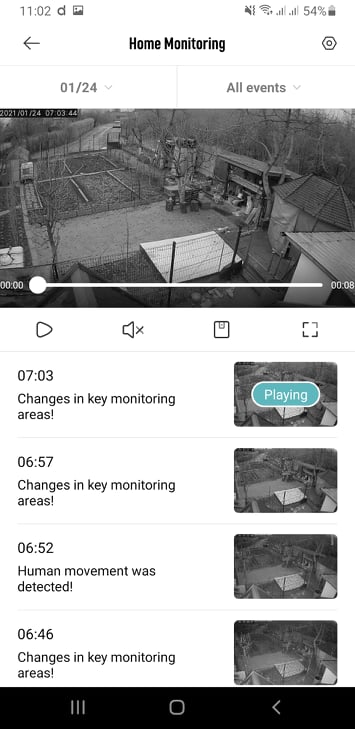
Monitoring hides all videos recorded based on motion detection. They can be filtered on the basis of the day they were recorded or also according to whether it was a human movement or any movement in the field of view.
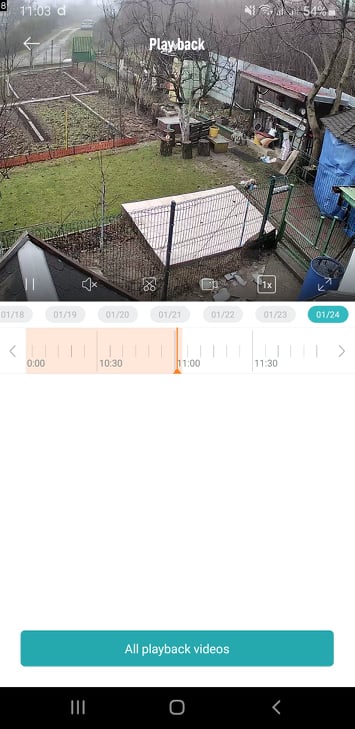
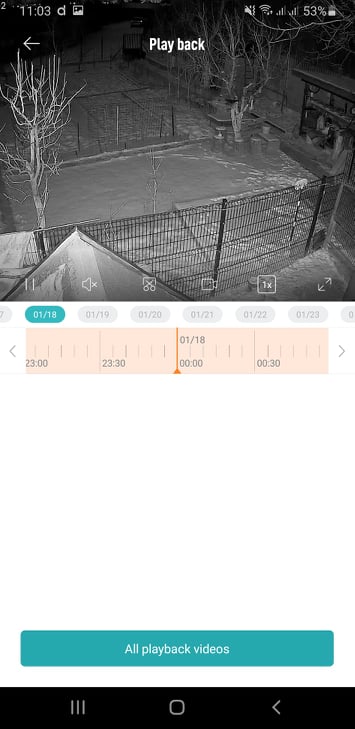
If continuous recording is turned on in the settings, you will find the video in the playback item. The videos are broken down by day, and a timeline is available within each day to navigate the video. The video can also be played quickly, maximum 16x. Continuous recording is only available if a memory card is inserted in the camcorder. Otherwise, only short motion-recording videos that are stored in the cloud are recorded.
Record quality and notification
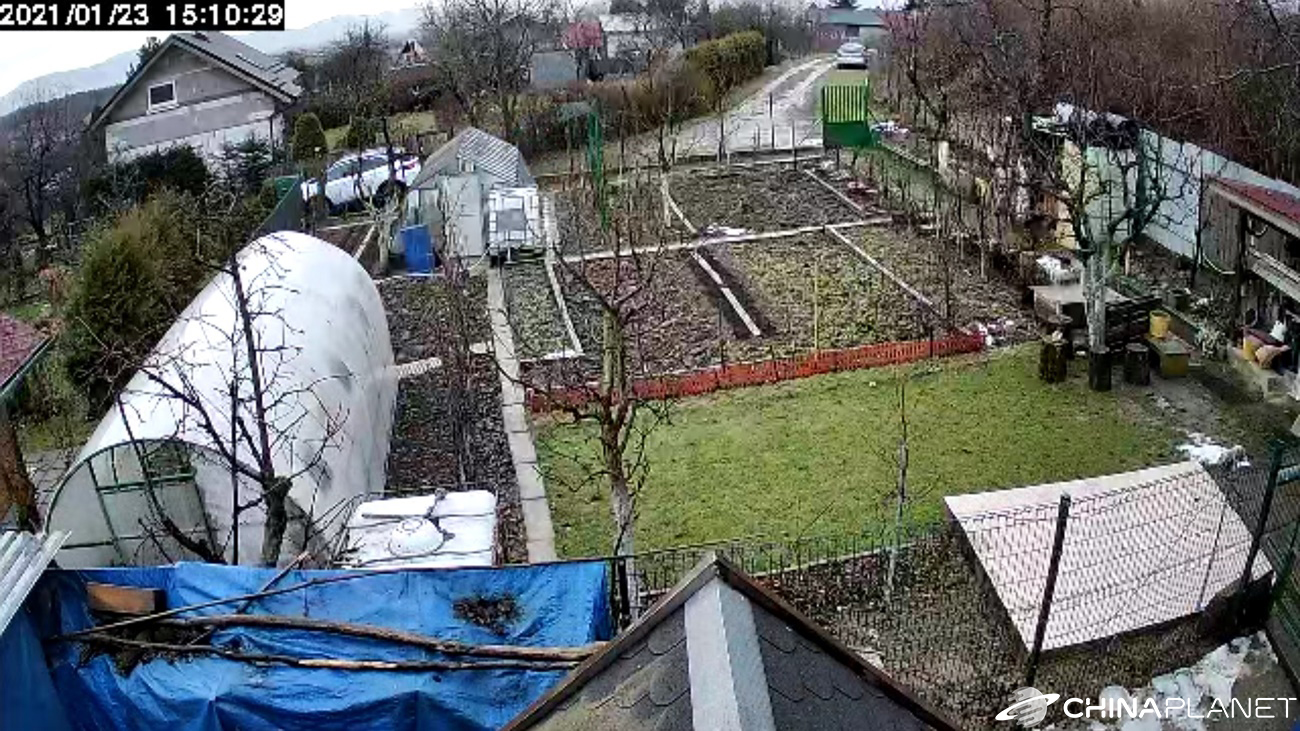
The quality of the video was a pleasant surprise for us, because it is really at a high level due to the purchase price. The camera has a wide enough range and also allows a slight zoom. We also include a preview of the video recorded during the day.
For notifications, the phone always displays the time when the motion was detected. The image quality in notification videos is poorer and we didn't find any option in the settings where the quality could be changed. This is probably due to cloud storage. Since we had a memory card in the camera, on which a continuous recording was stored for us, the poorer quality of the notification videos did not bother us.
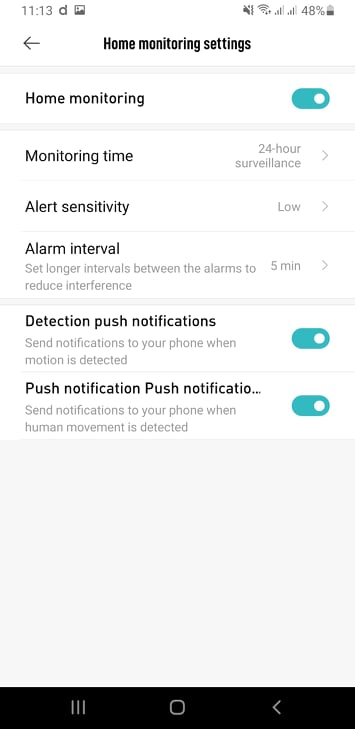
Monitoring can be turned off completely. When turned on, several settings are available. The first is to select the time when monitoring should be turned on. You can choose from all day, day monitoring, night, or you will also find a choice of your own times.
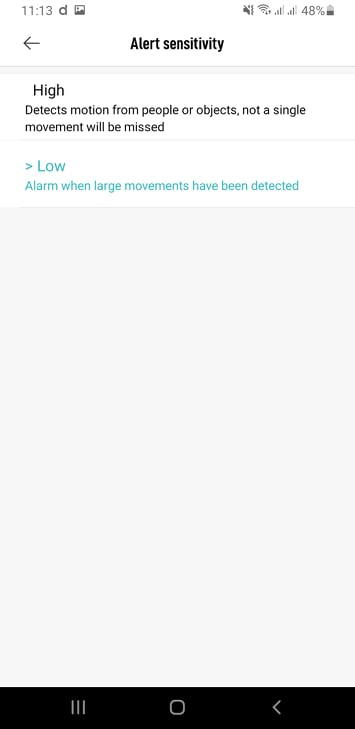
The application also allows you to set the sensitivity of notifications. High and low sensitivity are available. With high sensitivity, there are really a lot of notifications about every, even a small movement. Just the wind blows or something flickers in front of the camera. Low sensitivity should only indicate more movement, but even with this option we received a lot of unnecessary notifications about movement where nothing happened.
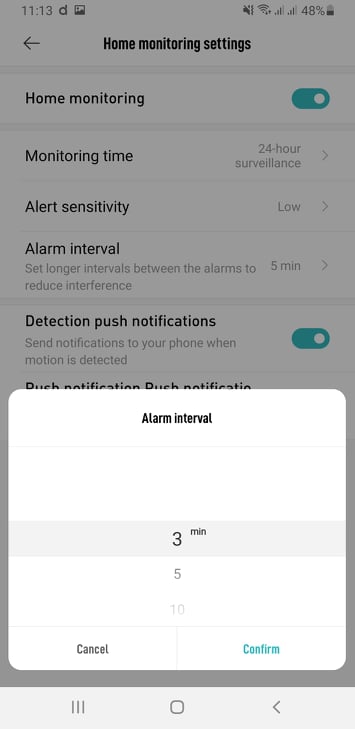
You can also set the interval between individual alerts in the range of 3 - 30 minutes. If there is continuous movement in the field of view of the camera, it is better to have a higher interval set so that notifications are reduced to a minimum.
The last 2 options are kind of weird. The first allows you to turn on notifications when motion is detected, the second option specifies notifications for those that contain human movement. But if you don't check the first option, the second will be automatically hidden, which doesn't make sense. We would accept the possibility of receiving notifications only in the case of human movement in front of the camera.
Video storage, cloud and memory card
Notification videos are only stored in the cloud in a lower quality. You can't control this option in the current version.
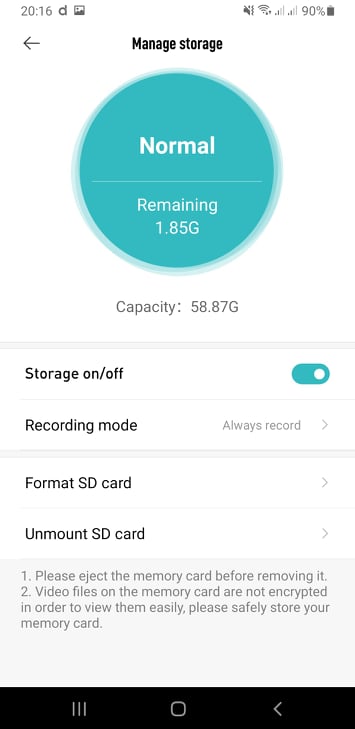
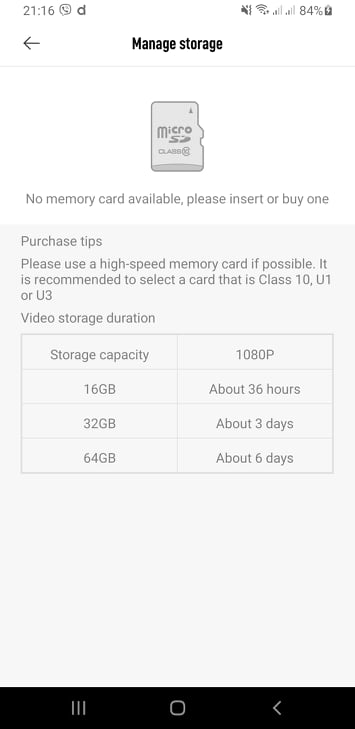
Continuous recording is stored on the memory card. We used a 64 GB card and it filled up in 8 days. The memory status can be checked in the settings. Here it sometimes happened to us that the application displayed an error message stating that there is no memory card in the camera, even though it was there. After restarting the application, it was repeated again, after some time we were shown the memory status. If the application reports this error, the entry in the Playback item is not available either.
When the memory card is full, the oldest entries will be overwritten. The videos are placed on the card in clearly arranged folders, which always have the date and time in the title when they were recorded. For example, all videos captured on 24.1.2021/17/2021012417 and 18pm are in a folder called 2021012418, and videos from 1pm will have a folder of 60. Each video has 60 minute, so each folder contains 1 videos (XNUMXx XNUMX minute).
Demonstrations and test of motion recognition
As already mentioned, the manufacturer states the use of artificial intelligence, thanks to which the camera can distinguish whether it has detected the movement of people or the normal movement of leaves, trees or animals. However, in our experience, this doesn't work very well. We've received too many notifications about a person's detection, and no one was in the video. Even with low sensitivity, there were quite a few unnecessary alerts for movement.
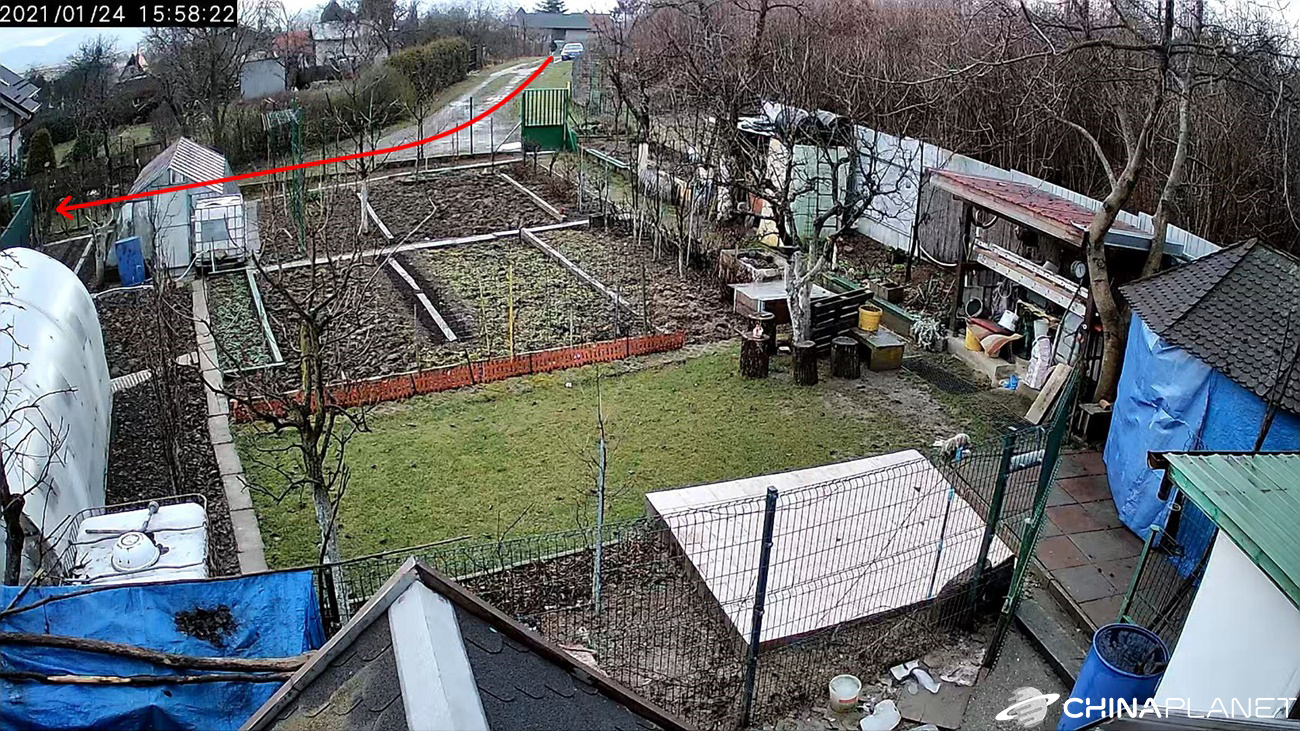
We first tested the motion detection by walking along the fence at the top of the frame. The number of cameras will detect the movement somewhere around the center of the image, or if the person is already very close to the camera. The fence is at a distance of approximately 30 m from the camera as the crow flies. In this picture we have shown the route we took:
In the video you can see when the camera captured our movement and started recording:
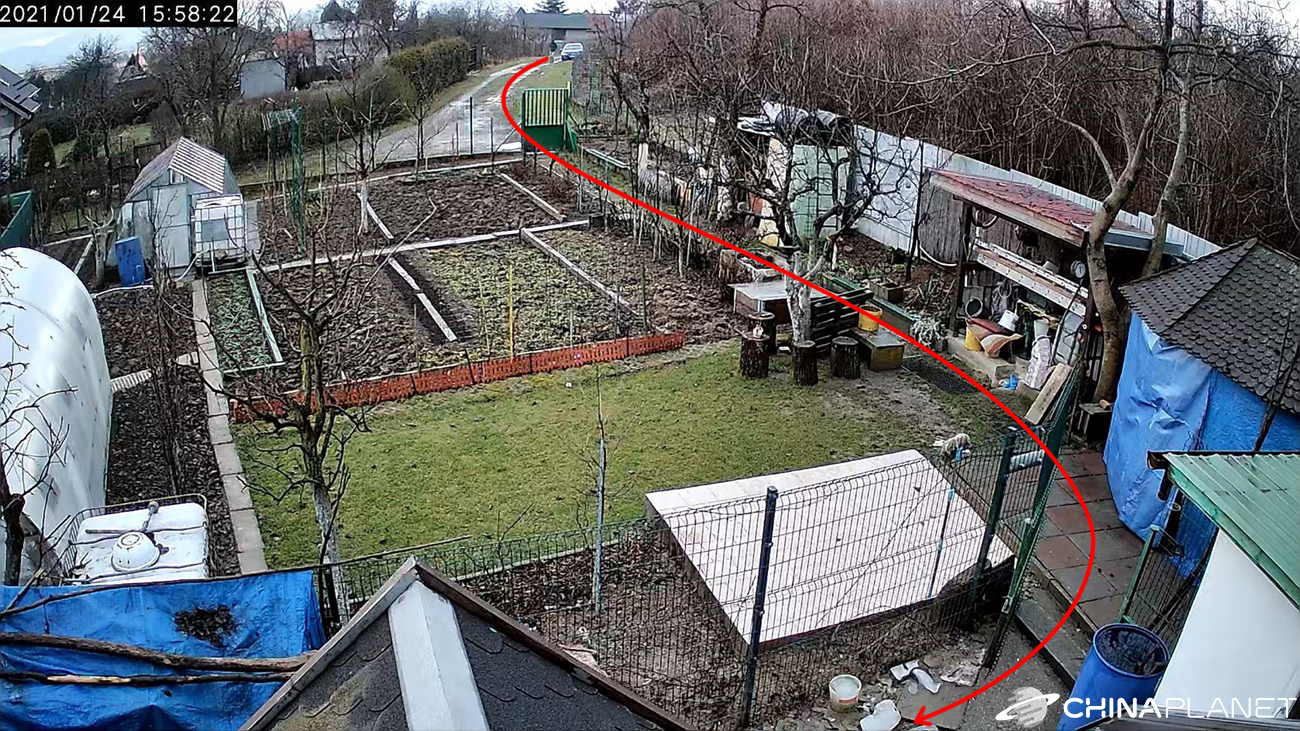
During the second test, we entered the field through the gate and came as close to the camera as possible. We were interested in when the camera records the movement, and therefore what we will see in the movement notification. We showed our route in the photo again.
In the video, you can watch a video from the motion notification. The camera recorded only a 2-second video, but it captured ours right at the goal and we can see the rest in the recording.
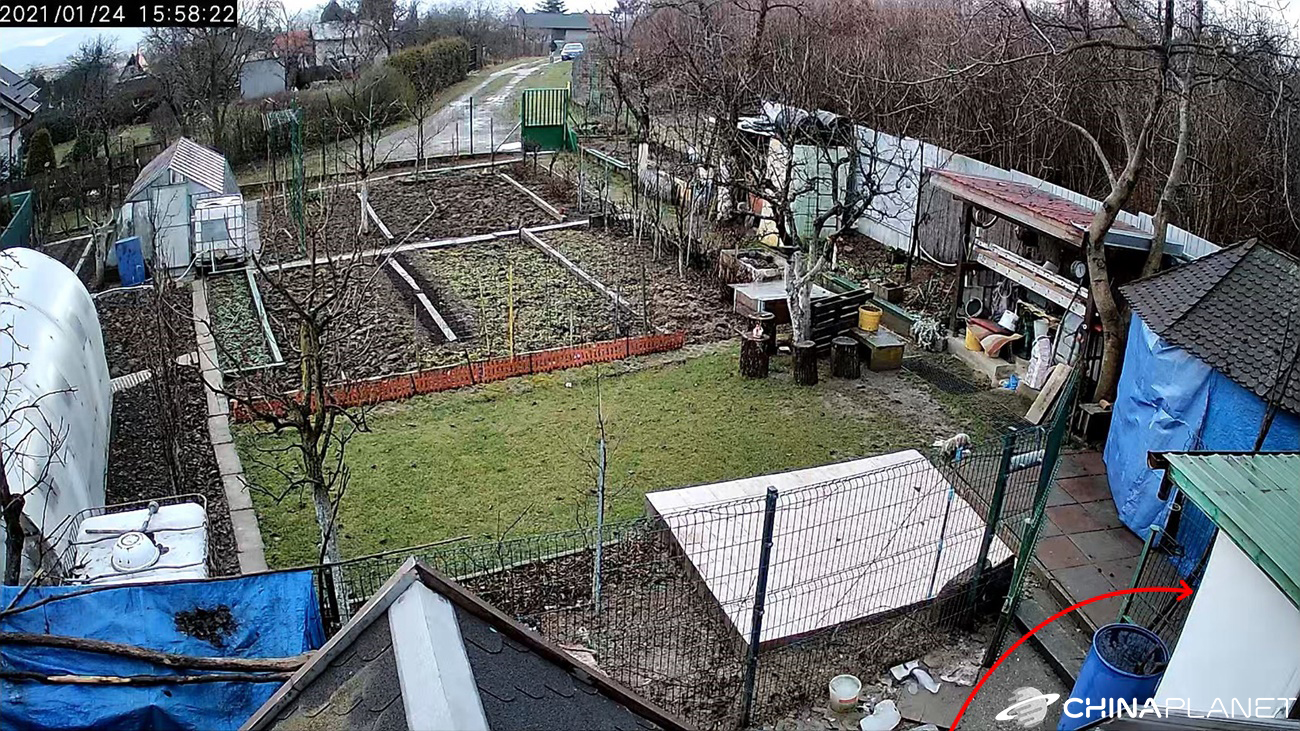
In the last attempt, we were interested in whether the camera would capture us in the video, if we pass only in the corner of its image. We also drew the route in the photo:
The camera recorded our movement, although not immediately, but the person can be seen in the video.
We repeated the experiment once again, saying that we only ran the same route quickly. We received the notification, but you can't see us in the short video. Overall, we are mainly satisfied with the fact that the camera can capture movement even at a relatively long distance. Imilab EC3 does not allow you to set the length of notification videos, but determines their length automatically based on the scene. Sometimes the video is only 2 seconds, other times almost 20 seconds.
Night vision and sound quality
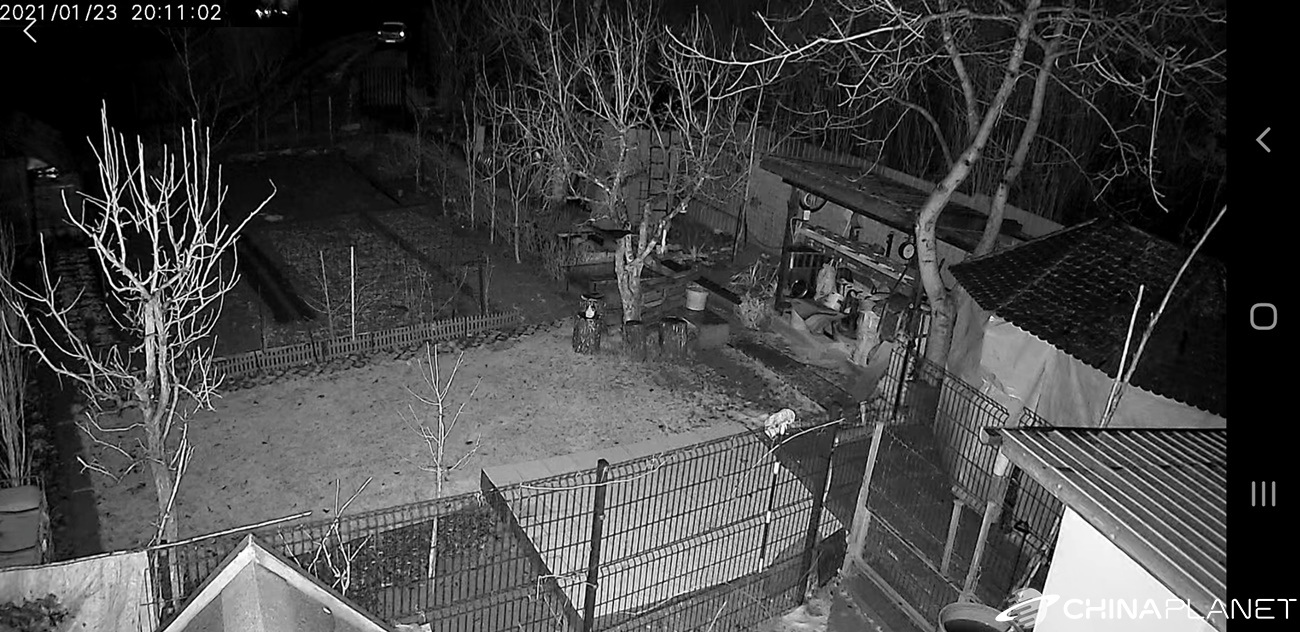
Night vision turns on automatically or manually, depending on your settings. The image quality is at a good level, significantly better compared to the Imilab EC2 camera. Since we placed the camera in a garden near the forest, where there is no street lighting, the camera was in complete darkness, but still the visibility in the videos was very good even at a greater distance. But it is worse with moving people, they are slightly translucent, especially if they are at a greater distance.
For a better idea, see the following, a short record.
The quality of two-way audio transmission is good, much better than the Imilab EC2 camera. The sound from the camera is clear, without interruption, but there is a slight delay, which is probably caused by a weaker internet connection, which we have in the garden. We would welcome the ability to adjust the volume to a higher level, as the sound is not too loud. As for the sound in the videos that is captured by the microphone in the camera, it is very good. Hear the sounds in the videos clearly.
Additional settings
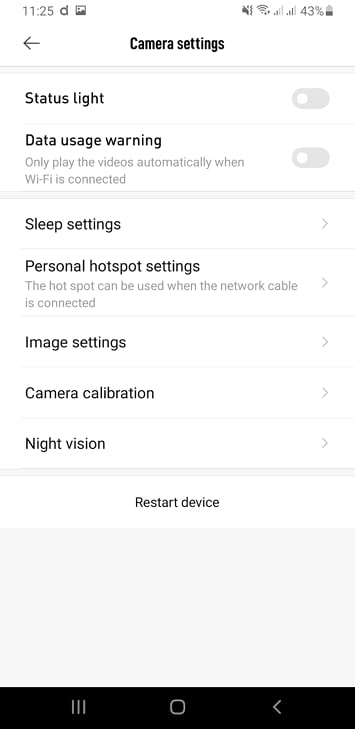
Let's look at at least some of the settings available in the application. In the camera settings, it is possible to turn on / off the signaling LED or a notification that will be displayed if you are connected via mobile data. You will also find a sleep mode setting that can be turned on at specific times or a WiFi hotspot. However, this is only available if the camera is connected to the router with a cable.
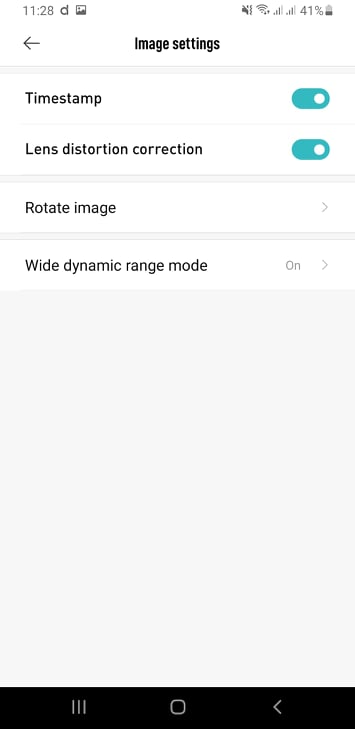
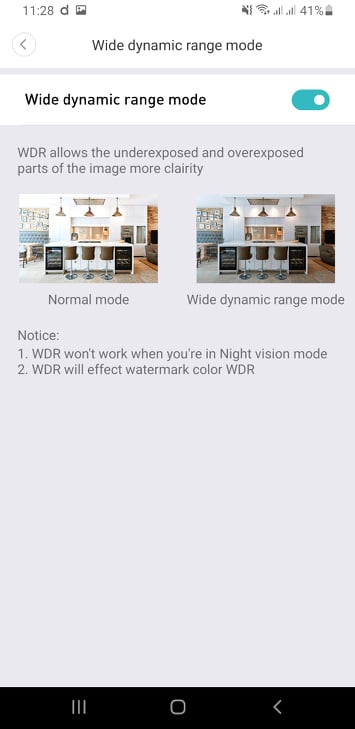
Next, you will find the image settings here. You can turn on or off the date and time display in the video, or turn on / off the image distortion caused by the wide-angle lens. There is also the option to rotate the image and turn on / off the mode to improve dynamirange, which software improves underexposed and overexposed areas.
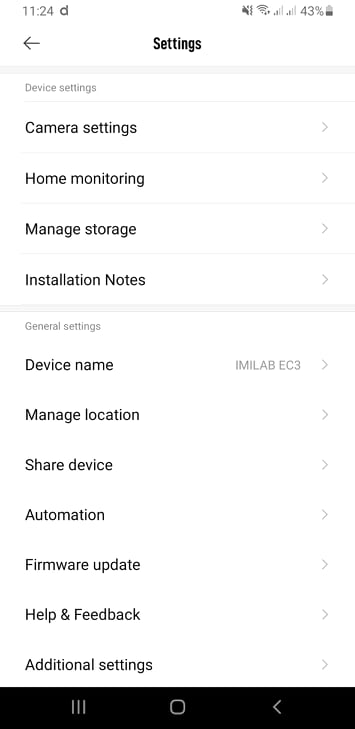
In the settings, you can change the name of the camera, its location in the Xiaomi Home room, share the device with another user, check for updates, or set up automation if you have more than one smart device available. Access to the camera can also be password protected.
Final evaluation
The Imilab EC3 security camera is a great choice for outdoor monitoring. It offers good picture quality even at night, the possibility of motion notifications or even two-way audio transmission.
If the manufacturer, by updating the firmware, improved the distinction of people from normal movement in front of the camera, it would be a perfect security camera. In the current state, we were hindered only by too frequent notifications, in which there was no real movement, which should be interesting for us.
However, due to the price, we can only recommend the camera.











health - so the resolution is not 2K as stated by the manufacturer - is it the same as for EC2?
Otherwise a great review
Hello, even EC2 does not have 2K. Both are FullHD cameras. We also have a review of EC2 https://xiaomiplanet.sk/recenzia-imilab-ec2/
Hello friends,
I note that the camera is good and meets my needs. However, the fact that it records either on MicroSD or on the cloud is not mentioned anywhere, that's why I'm "bothering" with the question. Recordings from the card can be viewed flawlessly via Xiaomi Home, there are no problems with that, but I don't know how to choose recording to the cloud or to the card. I did not find this option. Anyway, thank you for your answers and time.
Karel Brno
Please advice. In the description, this camera has a 7-day recording in a loop .. that means that this camera can be viewed 7 days backward recording 7 days (recorded 24 hours a day). If so, please, where do I set it up or find it? Of course I have a 64GB card in the gateway.
Cześć. Okazo začanzam ze aparat jest dobry i społany wymaganya. The only drawback is notifications and the separation of people from normal traffic before the camera. Zaznaczeni obszaru monitorowania w wersji PL też error jest niedostępne?